Download & Install CloudMine Modpack in Prism Launcher
Step 1: Download and install Prism Launcher
Prism Launcher is a modern, open-source Minecraft launcher designed to give players full control over their game instances, mods, and profiles. It's a fork of the popular MultiMC launcher, with enhancements focused on usability, compatibility, and freedom.
Follow the steps located at the following URL to install Prism Launcher. If you need something more comprehensive, the following youtube video provides a full walkthrough for a Windows installation.
The installation is designed to be simple, and the default options will work just fine with the server.
Step 2: Download the Modpack Bundle
These MOD packs are available to download from our members channel in Discord
-
🟢 The base mod pack. Just the essentials. Includes the guts and a couple basic UI mods like Sodium and Xaero's Minimap. No shaders or resource packs.
-
🟡 For some visuals. Includes everything from Base + light shaders and some visual client enhancements. Balanced performance and features.
-
🔴 For gaming rigs with some Ummmff. Includes everything from both Base and Mid + multiple shader support, 3D visuals, Datapacks and enhanced skins. Maximum immersion and graphical fidelity.
Step 3: Launch Prism Launcher
Open Prism Launcher and click "Add Instance" at the top left.

Step 4: Import ModPack
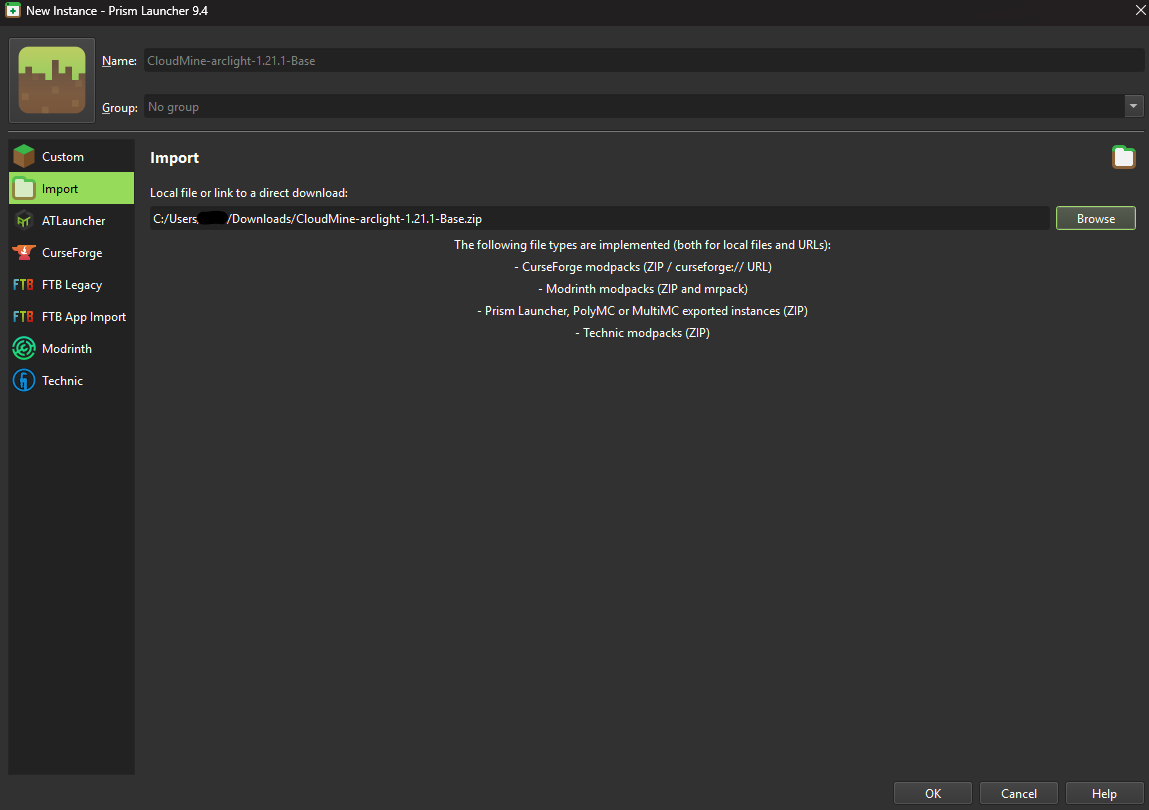
Select Import. Then use Browse to find the mod pack you just downloaded. Then click "OK".
Step 5: Instance Added
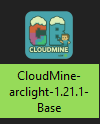
The Instance is now added.
If you wish to manually add mods, you can also navigate to %AppData%\PrismLauncher\instances\{Instance#}\minecraft. Just make sure they are compatible with neoforge.
Step 6: Launch and Enjoy
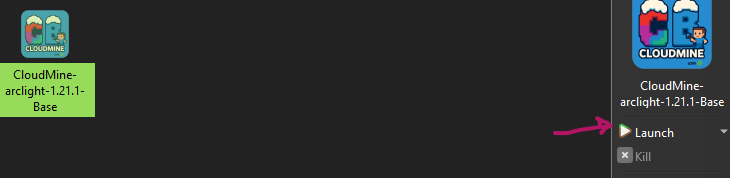
Back in Prism, click "Launch" and join the CloudMine server with your enhanced modpack experience!